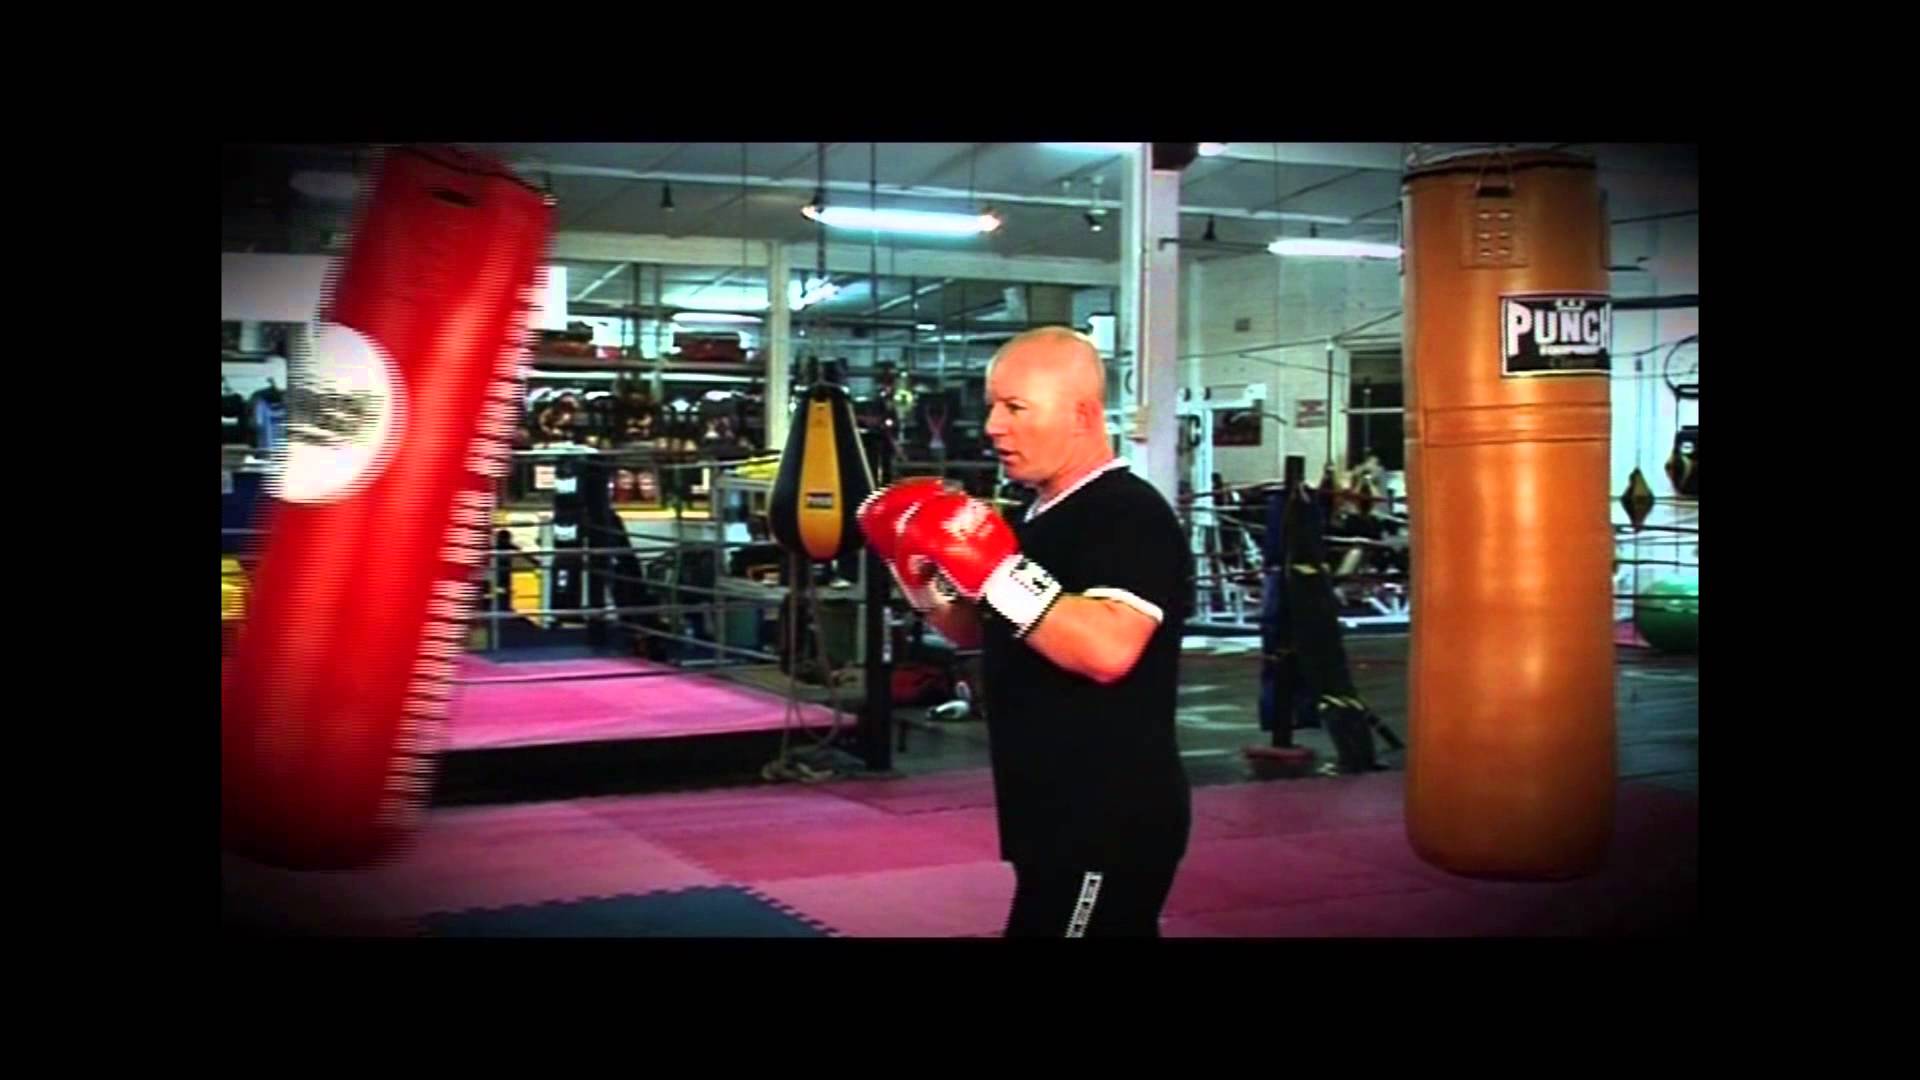
Floor to Ceiling Ball Installation Guide
How to install a Floor to Ceiling Ball
In this guide, we'll teach you how to install a Floor to Ceiling Ball. Whether you purchase the Urban, Punchtex or Mexican Floor to Ceiling Ball from Punch Equipment, this article will guide you through the process.
Each kit from Punch Equipment contain the following items:
1 x Floor to Ceiling Ball (Bladder Included)
2 x Rubber Straps, one long & one short.
1 x Adjustable strap.
INSPECTION
Firstly it’s important to inspect & decide the area where you are going to setup your floor to ceiling ball.
Try to find a good space when you can access a high point and low point for the connection of the floor to ceiling ball straps; ensure you also have plenty of room for the ball to swing.
INFLATION
All of our floor to ceiling ball products contain a deflated bladder, simply lubricate a needle from any suitable hand pump before inserting into the bladder, also please ensure not to overinflate the bladder as these products are considered a consumable and can be damaged/broken easily from excessive usage or overinflating etc.
HANGING POINTS & OPTIONS
From here it’s time to decide what you’re going to install as hanging points for your floor to ceiling kit.
Be mindful that both the floor and ceiling options are easily accessible before installing a hanging point.
For the ceiling point, some example items you can purchase are: a ceiling hook, an eyelet, a boxing bag wall frame, a freestanding bag stand and much more.
NOTE: We highly recommend hiring a qualified tradesman to install the overhead ceiling point.
Ensure the object used is stable and strong enough to hold the tension from the tightening of the straps and from boxing strikes.
The same method applies for attaching your bottom strap to the floor.
We highly recommend the Punch Equipment Floor Anchor instead of a hook or eyelet as they can be ripped rapidly from the floor due to excessive force!
Another easy option is to use a dumbbell as a counterweight.
If you’re more certain on a permanent anchor then we suggest purchasing an eyelet or hook from most hardware stores.
Ensure the floor point is directly below the high point to ensure the ball can be used correctly.
An easy way to check this is to hang a weighted object off some string or rope, that will indicate exactly where you need to install your floor point.
Lastly, the perfect height for the floor to ceiling ball for beginners is at the chest, feel free to adjust this to a higher level as you progress with experience, we do not recommend any higher than eye level.
NOTE: The tighter the straps, the faster the action of the ball!
VARIATION
Both of the straps and adjustable strap can be swapped around if the ball seems to be sitting too high or too low, depending on your current scenario.
We recommend using the adjustable strap on the bottom to make it easy to pull the ball downwards to eye or shoulder level.
If you’re floor to ceiling ball setup still doesn’t seem correct or is too long or short etc.
Please follow some of these handy tips.
SMALL SPACE (From the ceiling to the floor)
If your area is not very high (less than 2 metres), you can fold either of the rubber straps provided over themselves or place several knots in the strap to shorten the strap length if needed.
TOO MUCH SPACE (from ceiling to the floor)
If you don’t have enough strap length in your setup, you can add octopus straps, cable ties, thing rope & more to ensure any gap is covered.
Contact Us
If you’re still finding you cannot seem to effectively set up your floor to ceiling ball, please contact us and one of our friendly team will assist you.


